The JupyterLab Interface#
JupyterLab provides flexible building blocks for interactive, exploratory computing. While JupyterLab has many features found in traditional integrated development environments (IDEs), it remains focused on interactive, exploratory computing.
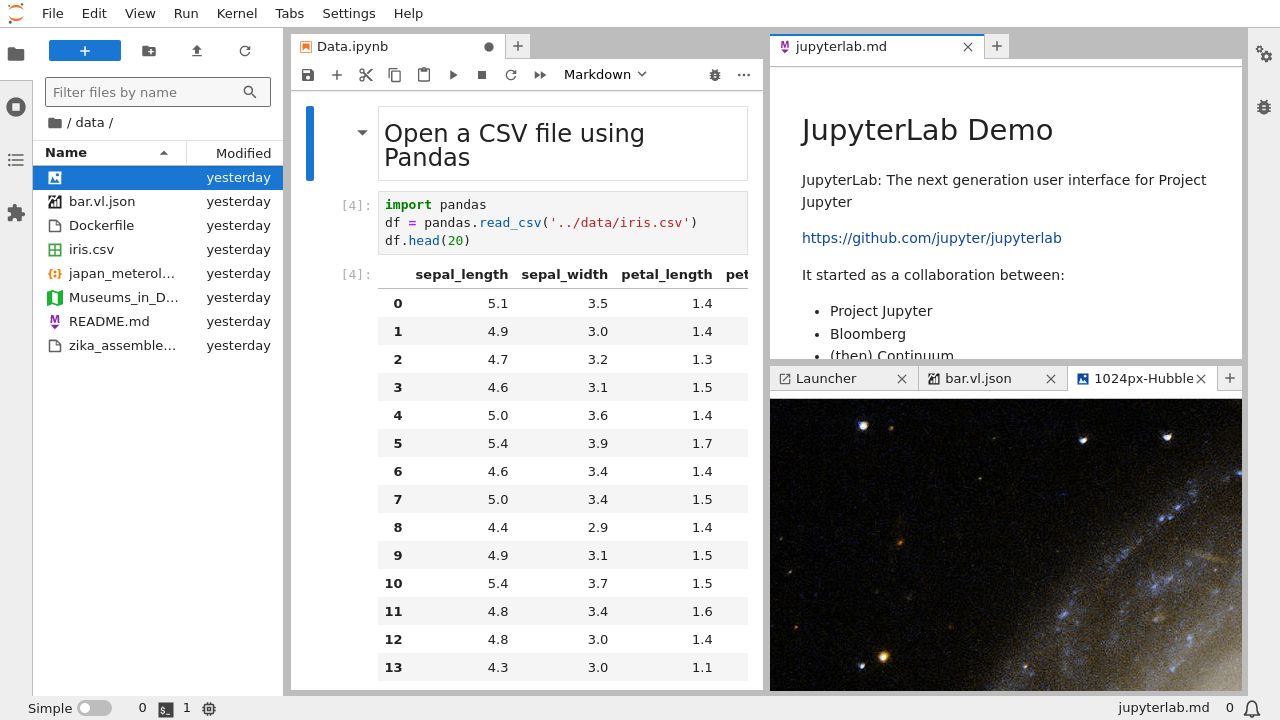
The JupyterLab interface consists of a main work area containing tabs of documents and activities, a collapsible left sidebar, and a menu bar. The left sidebar contains a file browser, the list of running kernels and terminals, the command palette, the notebook cell tools inspector, and the tabs list.
JupyterLab sessions always reside in a workspace. Workspaces contain the state of JupyterLab: the files that are currently open, the layout of the application areas and tabs, etc. Workspaces can be saved on the server with named workspace URLs or using workspace commands available in the menu and sidebar. To learn more about URLs in JupyterLab, visit JupyterLab URLs.
In the user interface, the current workspace can be changed using the workspace selector widget located in the top bar.
To enable the workspace selector, use the main menu: View → Appearance → Show Workspace Indicator.
Left and Right Sidebar#
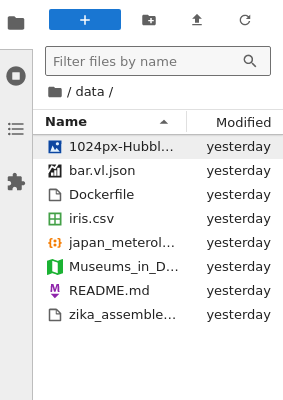
a file browser,
a list of tabs in the main work and of running kernels and terminals,
the command palette (in 3.0+ moved to a modal window accessible with a keyboard shortcut),
the table of contents,
the extension manager.
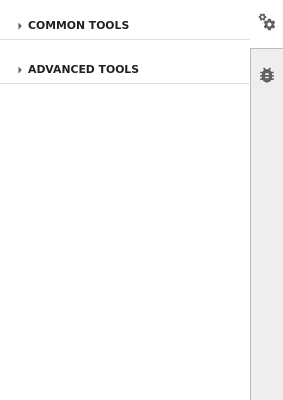
the property inspector (active in notebooks),
the debugger.
The column that allows to switch between tabs is called Activity Bar in JupyterLab.
The tabs can be moved between the left sidebar, the right sidebar, the main work area, and the down area from the context menu.
JupyterLab extensions can add additional panels to the sidebars.
Main Work Area#
The main work area in JupyterLab enables you to arrange documents (notebooks, text files, etc.) and other activities (terminals, code consoles, etc.) into panels of tabs that can be resized or subdivided. Drag a tab to the center of a tab panel to move the tab to the panel. Subdivide a tab panel by dragging a tab to the left, right, top, or bottom of the panel:
The work area has a single current activity. The tab for the current activity is marked with a colored top border (blue by default).
Tabs and Simple Interface Mode#
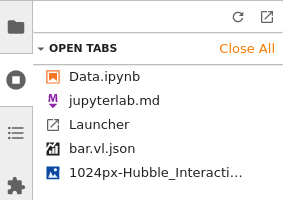
The Tabs panel in the left sidebar lists the open documents or activities in the main work area:
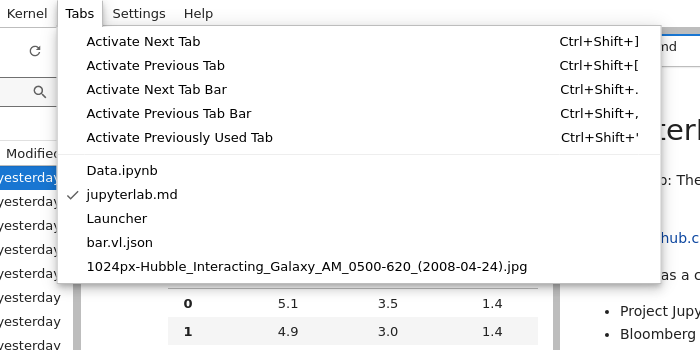
The same information is also available in the Tabs menu:
It is often useful to focus on a single document or activity without closing other tabs in the main work area. Simple Interface mode enables this, while making it easy to return to your multi-activity layout in the main work area. Toggle Simple Interface mode using the View menu:
When you leave Simple Interface mode, the original layout of the main area is restored.
Searching#
JupyterLab has an advanced built-in search plugin for finding text within a
notebook or other document, which uses the Ctrl+F (Cmd+F for macOS) shortcut by default.
Your browser’s find function will give unexpected results because it doesn’t have
access to the full content of a document (by default), but you can still use your browser find
function from the browser menu if you want, or you can disable the built-in search
shortcut using the Advanced Settings Editor.
Alternatively, you can disable windowed notebook rendering to expose the full document content to the browser at the expense of performance.
Keyboard Shortcuts#
As in the classic Notebook, you can navigate the user interface through keyboard shortcuts. You can find and customize the current list of keyboard shortcuts by selecting the Advanced Settings Editor item in the Settings menu, then selecting Keyboard Shortcuts in the Settings tab.
Assigning a shortcut to a command without a default#
Not every command has a default keyboard shortcut. For example, New Console for Notebook (available from a notebook’s right-click menu) has no shortcut assigned out of the box, but you can add one yourself in either of two ways.
The quickest way is the add-shortcut tool in the Keyboard Shortcuts settings: click the + button in the toolbar at the top of the shortcuts list, search for the command by name, and press the key combination you want to assign. Conflicts with existing shortcuts are flagged as you type so you can adjust your choice.
Alternatively, you can define the keybinding in JSON using the Advanced Settings Editor, which is convenient when you want to copy settings between installations. Add an entry that pairs the command’s id with the keys you want:
{
  "shortcuts": [
    {
      "command": "notebook:create-console",
      "keys": ["Accel Shift J"],
      "selector": ".jp-Notebook.jp-mod-commandMode"
    }
  ]
}
With this setting, pressing Ctrl+Shift+J (Cmd+Shift+J on macOS)
while a notebook is focused in command mode opens a console attached to it.
Accel maps to Cmd on macOS and Ctrl on other platforms.
To find a command’s id, browse the command list or the existing entries in the Keyboard Shortcuts settings. When editing the JSON directly, choose a key combination that is not already bound in the same context.
Defining shortcuts running multiple commands (macros)#
To define a custom keyboard shortcut which runs more than one command, add a keyboard shortcut
for apputils:run-all-enabled command in Keyboard Shortcuts advanced settings. The commands you
wish to run are passed in the args argument as a list of strings:
{
  "shortcuts": [
    {
      "command": "apputils:run-all-enabled",
      "keys": ["Accel T"],
      "args": {
        "commands": ["docmanager:save", "application:close"]
      },
      "selector": "body"
    }
  ]
}
In this example docmanager:save and application:close commands are mapped to Accel T.
The commands are run in succession when you use the shortcut.
Markdown editing shortcuts#
When editing markdown cells, you can use Ctrl+B (Cmd+B on macOS) to toggle bold formatting.
Select text in a markdown cell and press Ctrl+B to wrap it with ** for bold formatting.
Pressing Ctrl+B again on already bold text (text wrapped with **) will remove the bold formatting.
You can also customize the text editor to use vim, emacs, or Sublime Text keyboard maps by using the Text Editor Key Map submenu in the Settings menu: