Notebooks#
Jupyter notebooks are documents that combine live runnable code with narrative text (Markdown), equations (LaTeX), images, interactive visualizations and other rich output:
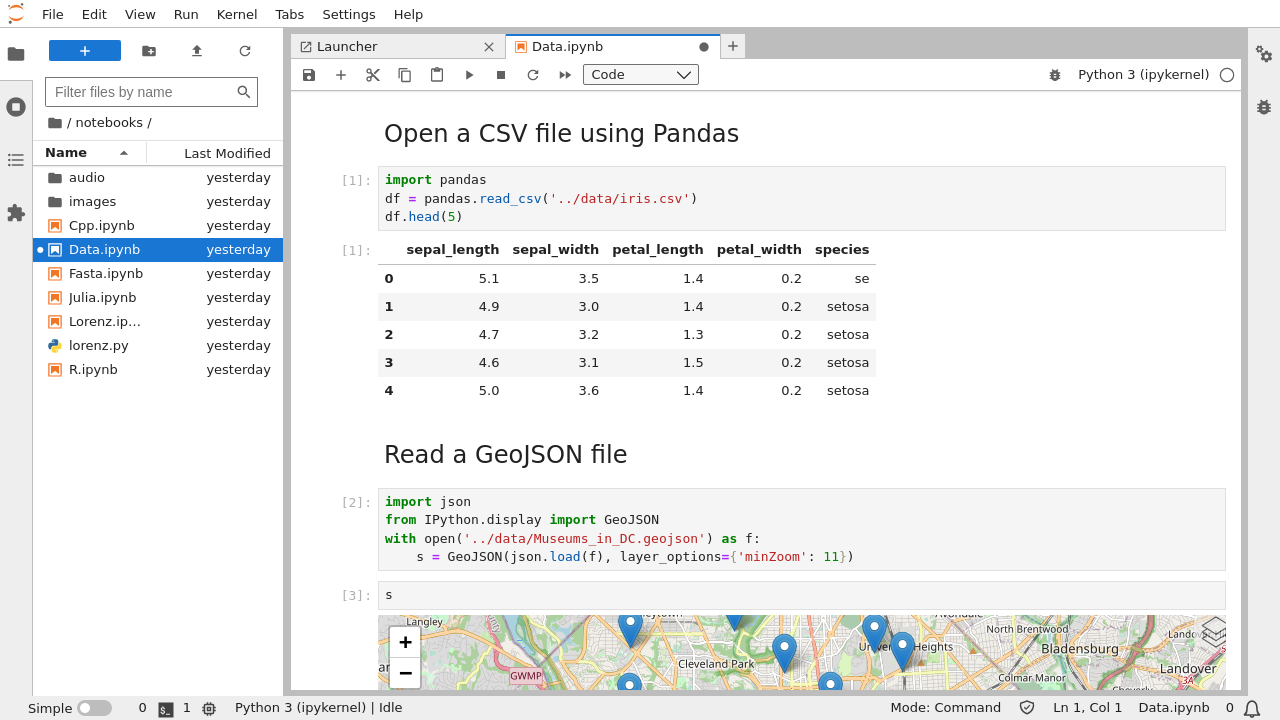
Jupyter notebooks (.ipynb files) are fully supported in JupyterLab. The notebook document format used in JupyterLab is the same as in the classic Jupyter Notebook. Your existing notebooks should open correctly in JupyterLab. If they don’t, please open an issue on our GitHub issues page.
Create a notebook by clicking the + button in the file browser and
then selecting a kernel in the new Launcher tab:
A new file is created with a default name. Rename a file by right-clicking on its name in the file browser and selecting “Rename” from the context menu:
The user interface for notebooks in JupyterLab closely follows that of the classic Jupyter Notebook. The keyboard shortcuts of the classic Notebook continue to work (with command and edit mode). However, a number of new things are possible with notebooks in JupyterLab.
Edit Mode vs Command Mode#
JupyterLab notebooks operate in two primary modes: Edit Mode and Command Mode.
Edit Mode
Used to edit the contents of a cell.
Activated by pressing Enter on a selected cell.
A blue cell border indicates Edit Mode.
Keyboard input affects the cell contents.
Command Mode
Used to perform notebook-level actions such as running cells, adding cells, or changing cell types.
Activated by pressing Esc when not editing text.
A gray cell border indicates Command Mode.
Keyboard shortcuts act on entire cells rather than their contents.
Pressing Esc exits Edit Mode, while pressing Enter enters Edit Mode on the selected cell.
Working with Cells#
Drag and drop cells to rearrange your notebook:
Drag cells between notebooks to quickly copy content:
Create multiple synchronized views of a single notebook:
Collapse and expand code and output using the View menu or the blue collapser button on left of each cell:
Enable scrolling for long outputs by right-clicking on a cell and selecting “Enable Scrolling for Outputs”:
Create a new synchronized view of a cell’s output:
Tab completion (activated with the Tab key) can now include additional
information about the types of the matched items:
Note: IPython 6.3.1 has temporarily disabled type annotations.
To re-enable them, add c.Completer.use_jedi = True to an
ipython_config.py file.
The tooltip (activated with Shift Tab) contains additional
information about objects:
You can connect a code console to a notebook kernel to have a log of computations done in the kernel, in the order in which they were done. The attached code console also provides a place to interactively inspect kernel state without changing the notebook. Right-click on a notebook and select “New Console for Notebook”:
You can iterate through the kernel history in a document cell using Alt Up-Arrow and Alt Down-Arrow. To use this feature, enable kernel history access in the notebook settings.
Cell Toolbar#
In each cell, there is a toolbar that provides quick access to commonly-used functions, if there is enough room to display it on the first line.
If you would like to disable the cell toolbar, open the Settings Editor, choose the Cell Toolbar in the left panel, and uncheck “Show cell toolbar”.
Administrators can turn off the cell toolbar by disabling its extension, by running:
jupyter labextension disable @jupyterlab/cell-toolbar-extension
on the command line. Administrators can turn it back on by running:
jupyter labextension enable @jupyterlab/cell-toolbar-extension
Trust#
JavaScript and HTML in notebooks created on other machines are not trusted, which results in sanitization of HTML and interactive outputs not being displayed until the notebook is explicitly trusted.
The trust status of the active notebook is indicated by a shield icon in the
status bar; a checkmark ( ) in the shield indicates a trusted notebook while a
cross (
) in the shield indicates a trusted notebook while a
cross ( ) indicates an untrusted notebook.
To trust a notebook (and render any blocked outputs) use the
) indicates an untrusted notebook.
To trust a notebook (and render any blocked outputs) use the Trust Notebook
command available in the command palette.
JupyterLab follows the Jupyter Notebook’s Security Model where any output generated by the current user is trusted, with following implementation details of relevance to advanced users:
manually re-running a non-trusted cell will mark it as trusted,
if any of the code cells is not trusted, the entire notebook is considered not trusted and none of the outputs will be trusted upon reopening it (while it is unusual to see a notebook with a single untrusted cell, this can occur when copy-pasting cells from an untrusted notebook),
only code cells can be trusted; the Markdown cells are always sanitised.
Plotting and Visualization#
JupyterLab supports data visualization using libraries like matplotlib, plotly, and others.
Static Plots with IPython Kernel
For static plots in JupyterLab with IPython kernel, simply import and use your plotting library of choice - no magic commands are needed:
import matplotlib.pyplot as plt

plt.plot([1, 2, 3, 4])
plt.ylabel('some numbers')
plt.show()
Note
Unlike classic Jupyter Notebook, JupyterLab with IPython kernel displays matplotlib plots automatically
without requiring %matplotlib inline.
Interactive Plots, Widgets or Plotting with Other Kernels
Interactive plots, widgets, or plotting with other kernels may require additional packages to be installed and sometimes a magic command or other kernel native instructions (please refer to the respective library documentation). Common options include:
Python:
ipywidgets - Interactive widgets for Jupyter notebooks
ipympl - Interactive matplotlib backend
plotly - Interactive plotting library
bokeh - Interactive visualization library
altair - Declarative visualization library
R:
ggplot2 - Grammar of graphics for R
Mermaid diagrams#
JupyterLab includes built-in support for rendering Mermaid diagrams in Markdown cells.
Mermaid diagrams can be added using fenced code blocks with the mermaid language identifier:
```mermaid
graph TD
  A --> B
```
which renders as:
        graph TD
  A --> B
Mermaid support is bundled with JupyterLab and does not require installing an additional extension.
Mermaid diagrams are rendered automatically in Markdown cells in notebooks opened in JupyterLab. The diagram source remains visible when editing the Markdown cell.
Paste code cells without output#
When Paste code cells without output is enabled in Settings → JupyterLab Notebook (or Settings → Notebook), pasting code cells inserts only the cell content, not the outputs. This is useful when you want pasted code to reflect only what was written, without carrying over previous run results.